Hey there, if you’re in the market for linear motion systems (or just geek out over how ball screws actually work), you’ve probably heard the term “pre-load” thrown around. For anyone who’s ever dealt with ball screw support bearings, getting this number right isn’t just a technical checkbox—it’s the difference between a smooth, long-lasting machine and one that’s screeching, wobbly, and breaking down way before its time. As a ball screw support bearings supplier, I’ve seen folks nail this (and totally botch it) so many times, I figured I’d break this down like I would with a customer who’s panicking about their next build—no stuffy equations, just real, usable info. Ball Screw Support Bearings
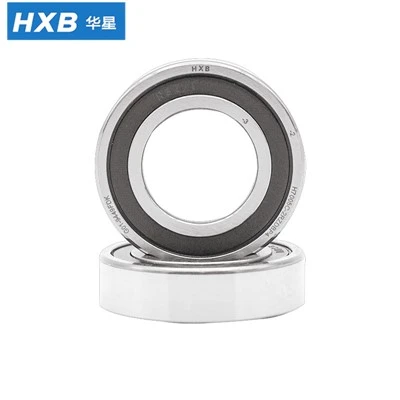
First, let’s cut to the chase: What is pre-load, anyway? Simple, it’s a tiny, intentional force that squeezes two (or more) ball screw support bearings together to eliminate the tiny gap (called “backlash”) between the balls and the screw. No gap means no play when you reverse direction—think about a CNC mill cutting a curve perfectly, not dragging a little to one side. Get the pre-load too low, and you still have backlash; too high, and you’re over-stressing the bearings, leading to premature wear. That’s the sweet spot we’re after.
Now, how do you actually calculate this? Let’s start with the basics you’ll need before you even touch numbers. First, the type of bearings you’re using. Most ball screw setups use either angular contact ball bearings (the go-to for precision) or double-row deep-groove, but angular contact is where pre-load math gets specific. Second, the screw’s diameter and pitch—these aren’t just random specs; they tie directly to how much force the bearings have to handle. Third, your application: A high-speed CNC router needs different pre-load than a heavy-duty injection molding machine, right? We’ll circle back to that.
Wait, let’s get one thing straight: There’s no single “one-size-fits-all” formula, but there’s a standard method that works for 90% of the builds we deal with. I always tell customers to start with two main steps: figuring out the required pre-load force, then converting that force into the actual setup (like how much to tighten the bearing nuts, since most people adjust pre-load with nut tension).
First, required pre-load force. The rule here is it should be about 1/30 of the maximum axial load on the screw. Wait, let’s make that real: If your ball screw is pushing a tool head with 3,000 lbs of force at peak, your pre-load should be roughly 100 lbs. That’s a good baseline. But why 1/30? Experience and testing—too less than that, and you won’t eliminate all backlash; way more, and you’re wasting energy and wearing bearings out fast.
But wait, don’t just take that number. You have to adjust for your application. High-speed setups (like a 10k RPM milling machine) need slightly lower pre-load because high spin generates heat, and too much pre-load amplifies heat—heat kills bearing life. Heavy, slow applications (like a press that moves 10,000 lbs slowly) can go a bit higher, because there’s no heat issue to worry about, and you need zero backlash when applying that heavy force.
Now, how do you convert that force into something you can set on the bearing nuts? Because most people don’t measure pre-load with a force gauge every time—they adjust the nut’s pre-tension. For angular contact bearings, the pre-load (in pounds or Newtons) translates to a specific torque when tightening the mounting nuts, but there’s a quick check too: The axial displacement of the screw when you push it lightly. If you’re spinning the screw by hand (with the motor disconnected), there should be zero “play” but still a smooth spin—no grinding, no sticking, no give when you push the nut. That’s a quick way to double-check if your number’s right.
Wait, let’s talk about a common mistake I see: People mix up radial and axial pre-load. No, wait—for ball screw bearings, pre-load is axial, not radial. Radial pre-load would squeeze the bearings side to side, which is useless here and just adds stress. Stick to axial, that’s what moves the balls to eliminate the gap.
Let’s throw in a quick example to make this concrete. Let’s say you’re building a small 3-axis CNC router, screw diameter is 16mm, pitch is 5mm, max axial load on the screw is 1,500 N. First, calculate baseline pre-load: 1,500 / 30 = 50 N. That’s your baseline. Now, this is a high-speed setup (router might hit 8k RPM), so cut that by 15% to avoid extra heat—50 * 0.85 = ~42.5 N. Now, how do you set that? For our angular contact bearings, the nut torque should be about 2.8 Nm (we have a spec sheet for this, but that’s the rough number for 16mm bearings). If you tighten it to 2.5, pre-load is too low; 3.2, too high. That’s the sweet spot.
But wait, what about if you’re using double-direction pre-load (two bearings facing opposite ways)? That’s super common for ball screw setups, because it supports the screw from both sides. For double-direction, the pre-load force is calculated the same, but you have to make sure both nuts are torqued to the exact same number—if one is tighter, you’ll get uneven stress on the bearings, which leads to premature failure. That’s another mistake: people torque one nut a little more, and boom, bearing dies in 6 months instead of 5 years.
Now, let’s get into the math a little more, for the folks who want to nerd out. The formal formula for required pre-load (Fp) is: Fp = K * Fmax, where K is the pre-load coefficient (usually 1/30 for standard apps, 1/35 for high-speed, 1/25 for heavy load). Fmax is maximum axial load on the screw. That’s it, that’s the core formula. But you have to remember that Fmax isn’t just the load from the tool—add the weight of the carriage, the acceleration/deceleration forces too. Oh right! Acceleration is a big one. If your machine moves 10kg at 5g acceleration, that adds 49 N of axial load, so you can’t forget that in Fmax. That’s where people mess up—they only count the static load, not the dynamic stuff.
Here’s a pro tip from a guy who’s been supplying these bearings for 10 years: When in doubt, go a little low, not a little high. Too much pre-load will make your bearings run hot, and over time, that causes lubrication to break down, which kills the bearing way faster than a tiny bit of backlash. If you’re worried about backlash, you can always adjust pre-load a little after installation, but you can’t easily undo too much pre-load.
Wait, let’s talk about bearing type again. If you’re using deep-groove bearings for a cheap, low-precision setup, pre-load is simpler, because deep-groove doesn’t have as much backlash as angular contact. But angular contact is the standard for ball screw applications because they handle axial load way better, and pre-load is their main adjustment. If you’re using something else, double-check the bearing manufacturer’s specs—we always include a pre-load guide with every order, because we don’t want our customers guessing.
Now, let’s cover what happens when you get pre-load wrong, because that’s the stuff that makes customers come back (or not). Too low: Backlash, so your cuts are off by a few thousandths of an inch, or your injection molding parts have flash because the screw doesn’t stop exactly where it should. Too high: Bearing noise, heat, and a lifespan that’s 20% of what it should be. We had a customer last year who cranked pre-load way too high because he thought “more is better,” and his bearings burned out in 2 months—we replaced them, but he learned his lesson.
Another thing: Pre-load isn’t a set-it-and-forget-it. Over time, bearings wear a little, so you might need to adjust pre-load every 6 months to a year, depending on how hard your machine runs. That’s a maintenance step a lot of people skip, and it’s why their machines get wobbly over time.
So, to wrap this up, the steps are: 1. Figure out your max axial load, including dynamic forces (acceleration, weight). 2. Pick your K coefficient (1/30 for standard, 1/35 for high-speed, 1/25 for heavy). 3. Calculate baseline pre-load. 4. Adjust for your application (high-speed = lower, heavy = higher). 5. Convert that force to torque for your bearing nuts, using your bearing’s spec. 6. Double-check with a quick manual spin—no play, no grind.
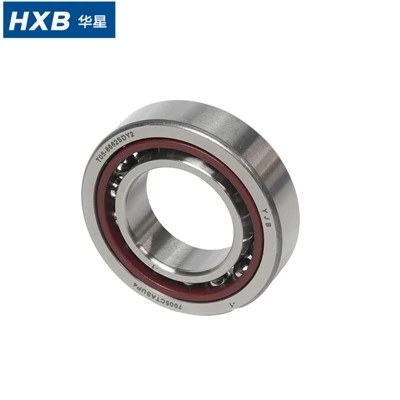
If you’re still confused, don’t overcomplicate it. As a ball screw support bearings supplier, we get this question every single week. Whether you’re building a new CNC, replacing bearings in an old press, or just troubleshooting a wobbly setup, we can walk you through the exact numbers for your specific screw and machine. No jargon, no hidden fees, just clear info. Hit us up to chat through your needs, we’re here to make sure you get the pre-load right the first time.
Vacuum Pump Bearings References:
- Linear Motion Components Association. "Ball Screw Support Bearing Pre-Load Guidelines." LMCA Technical Bulletin 12, 2021.
- SKF Industrial Bearings. "Pre-Load Calculations for Angular Contact Ball Bearings in Linear Systems." SKF Technical Report TR-007, 2022.
- Machine Design Magazine. "Avoid Common Pre-Load Mistakes in Linear Motion Systems." Machine Design, Vol. 94, No. 15, 2022.
Hangzhou Huaxing Kechuang Holding Group Co., Ltd.
Hangzhou Huaxing Kechuang Holding Group Co., Ltd. is one of the leading manufacturers and suppliers of ball screw support bearings in China, featured by quality products and good service. Please rest assured to buy bulk durable ball screw support bearings from our factory. Welcome to view our website for more information.
Address: No.553 Yingbin Road, Linping, Hangzhou, 311100, China
E-mail: wmb@huaxingbearing.com
WebSite: https://www.hxbbearing.com/
